Introduction
The user can rename a project by two (2) methods
-
Rename a project using Main Menu
-
Rename a project using the project settings.
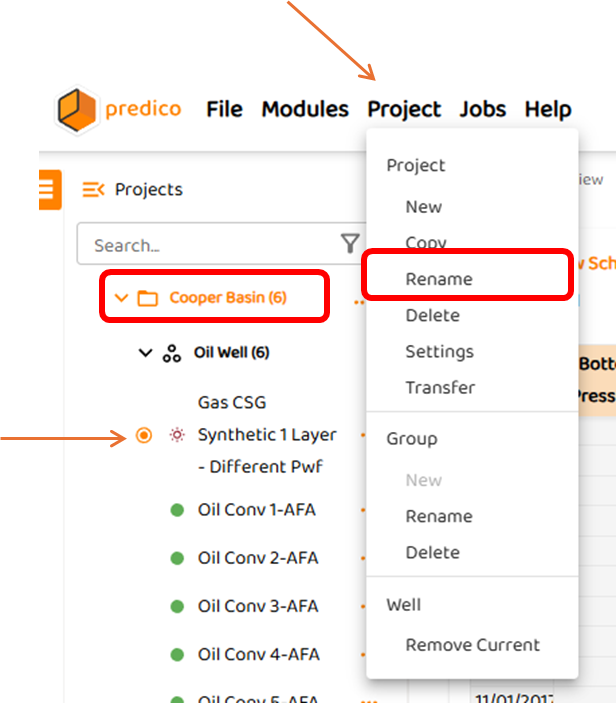
Option 1: Rename a Project using the Main Menu
To rename the current active project (In this example, “Cooper Basin“ is the active project since the user is viewing Well “Synthetic 1 Layer - Different Pwf”, simply:
-
Hovering the mouse of the project, and clicking the circle to highlight the project.
-
Selecting “Project“ the Main Menu and selecting “Rename Project“
-
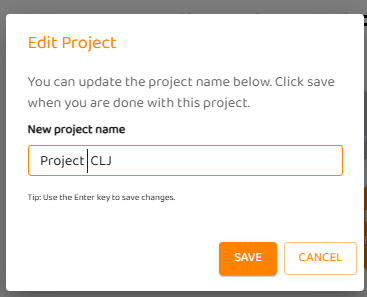
An “Edit Project” dialog box will appear. Type new project name
-
Click Save or Cancel
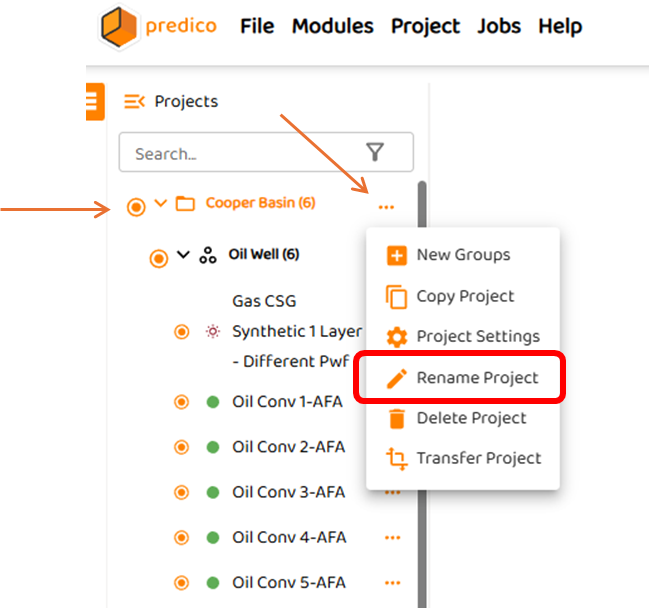
Option 2: Rename the a project using project settings.
If a project already exists, the user can rename the entire project by simply clicking the three dots ( ![]()
In this example, the user will rename Project “Cooper Basin” by:
-
Hovering the mouse of the project, and clicking the circle to highlight the project.
-
Clicking the three dots (

-
An “Edit Project” dialog box will appear. Type new project name
-
Click Save or Cancel