Introduction
Import Wells allows user to load a well in tabular formats (csv, xls, xlsx) formats into AFA. Wells don ot have to be imported, AFA can connect to a database.
We support integrating well data from various databases, including Aries, Enverus, IHS, MongoDB, Oracle, MySQL, PostgreSQL, SQL Server, and Snowflake. As each client’s implementation may differ, please contact our sales team for further details.
STEP 1: Selecting Import Wells from the Main Menu
This command imports well data from one or more CSV or spreadsheet files. Each file can hold a single well, or a single file can hold many wells with a column that names the well. Several files can be imported at the same time. The supported formats are:
-
csv file - comma-separated text
-
xls file - Microsoft Excel 97-2003 worksheet
-
xlsx file - Microsoft Excel Open XML Format Spreadsheet file
-
numbers file - Apple Numbers spreadsheet
Every sheet in a workbook is read as a separate well, named file name -sheet name.
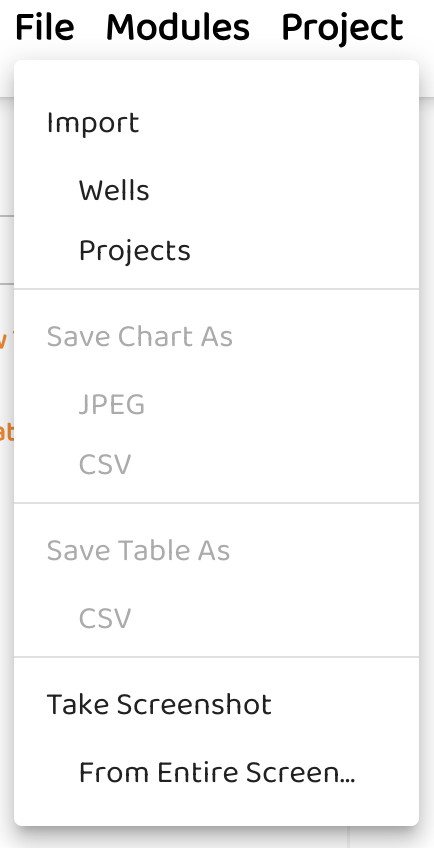
To import a well or a group of wells, select File > Import > Wells
STEP 2: Select Either Single Well Files or a Multi-Well File
The Import Wells card offers two buttons. Choose the one that matches your file(s).

|
Select file(s) - each file, or each sheet in a workbook, is a separate well and the file name becomes the well name. You can select several files at once. |

|
Single File Multi Wells - one file that holds many wells, with a column that identifies the well. You will map that column to Well ID in the next step. |
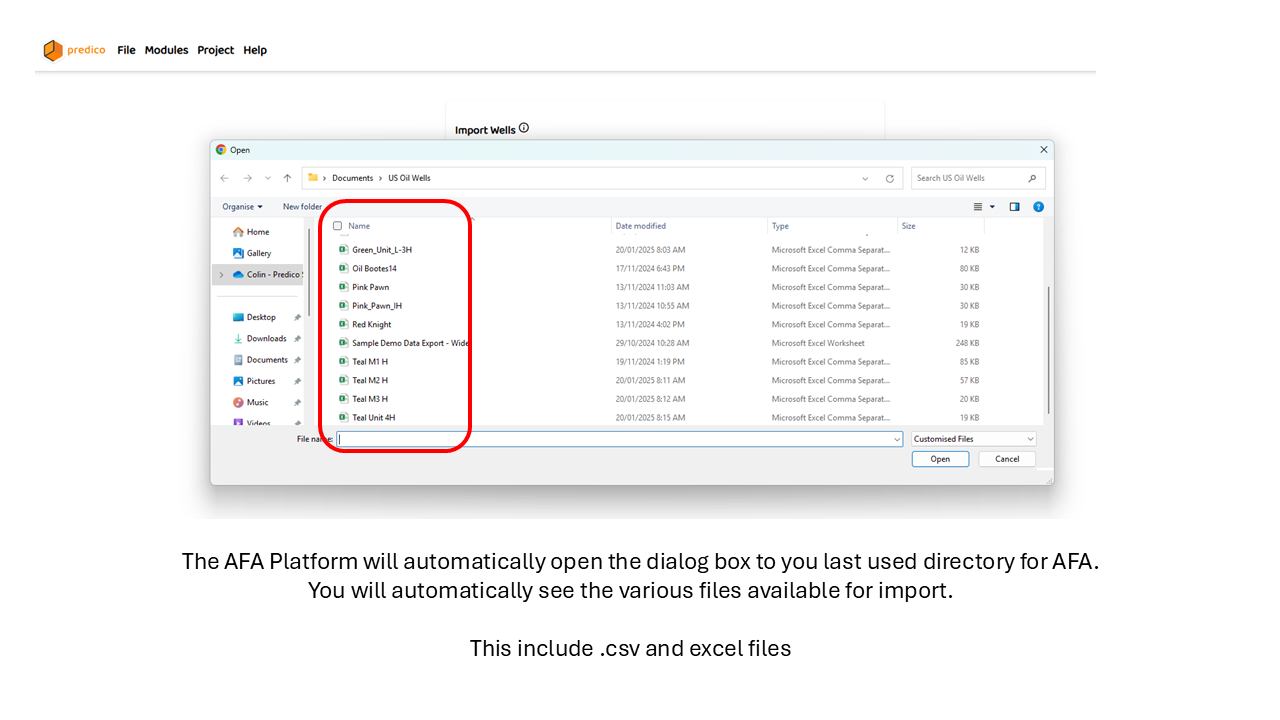
The file explorer will now open. Pick your file(s); AFA reads them in the browser before anything is uploaded.
STEP 3: Mapping the Columns in the Import Dialog
Once the files are read, the Import Single Well dialog opens (or Import Multi Wells for a multi-well file). The importer will:
-
Map the columns of each file to AFA fields, with a unit for every mapped column.
-
Pre-fill the mapping for column headers it recognises, and detect standard date formats automatically.
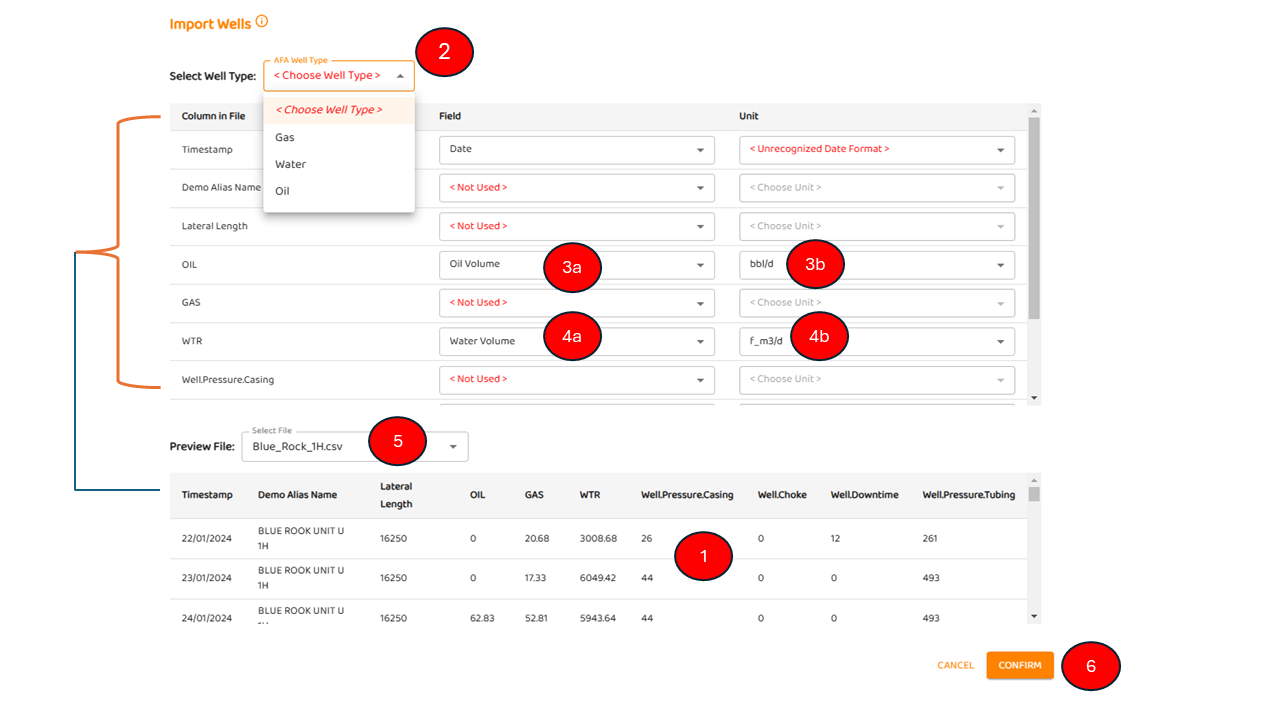
Referring to the image below:
-
File - when more than one file or sheet was selected, use this drop-down to move between them. Each file has its own mapping. The Import well switch leaves the current file out of the import without removing it from the list.
-
Column Information tab - one row per column in your file, with three columns:
-
Column in File - the header exactly as it appears in your file.
-
Field - the AFA property that column holds, for example Date, Oil Rate, Gas Rate or Water Rate. Columns you do not need stay as < Not Used >. Each Field can be mapped to only one column, except Tag.
-
Unit - the unit of that column, for example bbl/d for Oil Rate or m3/d for Water Rate. For a Date column the Unit is the date format, which AFA detects from the data.
-
-
System Fields are listed at the bottom of the Field drop-down. Tag keeps extra text columns, such as formation or field name, for filtering wells later. Well ID names the well when a single file holds many wells. AFA-welltype reads the well type from a column in the file.
-
A well type (AFA Well Type) must be set for every well. If no column is mapped to AFA-welltype, use the Select Well Type drop-down above the table to pick Gas, Water or Oil. This is the dominant fluid; all mapped phases are still imported.
-
Preview tab - shows the rows read from the file so you can check the mapping against real values.
-
When you are satisfied with the mapping for every file, click Confirm. The upload starts straight away and a progress bar shows its status.
Minimum Data Requirements
The Confirm button stays disabled, and a red message explains why, until every enabled file has:
-
a unit chosen for every mapped Field
-
a recognised date format for every Date column. If the format is not detected the Unit shows < Unrecognized Date Format >; check that the dates in your file follow a standard pattern
-
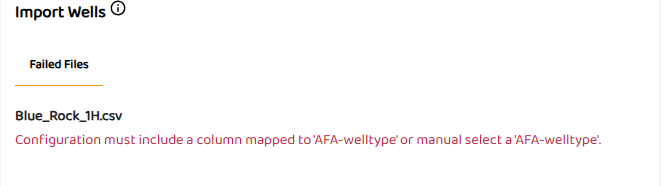
a well type, either from a column mapped to AFA-welltype or from the Select Well Type drop-down
-
for Single File Multi Wells, one column mapped to Well ID
Files with duplicate column headers are rejected when they are read, before the dialog opens. For a meaningful analysis each well also needs at least one date column and at least one fluid rate column (oil, gas or water).
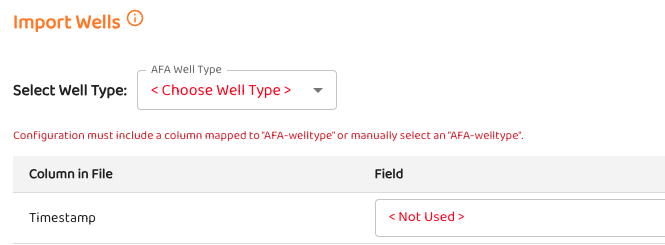
or the following error message
Overriding Existing Wells
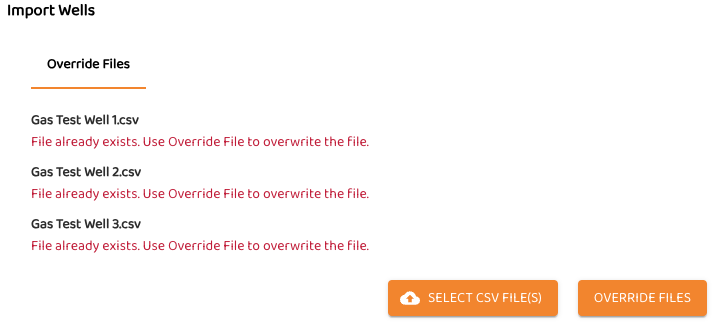
After the upload, the results are grouped into tabs: Success Files, Failed Files and Override Files. A well whose name already exists in your project is listed under Override Files with the message “File already exists. Use Override File to overwrite the file.” Open that tab and click Override Files to replace the existing wells, or Cancel to keep them.
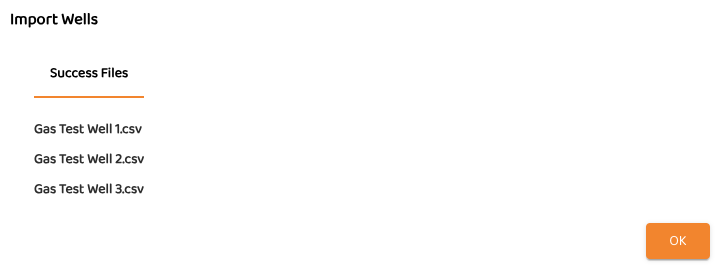
Confirmation of Successful Import
Once all files are imported, each well is listed under Success Files. Click OK (or Done when some files failed) to return to the modules page. The new wells appear in the project tree.
Previewing a Wells Data
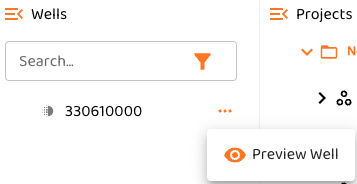
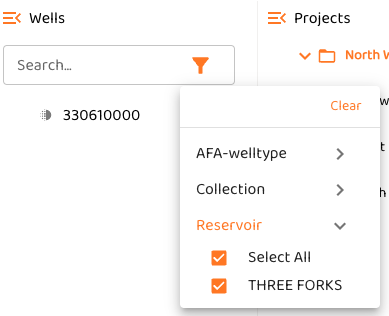
Once imported, you can preview the well. In this example, the user filtered a well based on an associated TAG (Producing Formation = THREE FORKS.) The result was well “330610000”
-
Select the Filter option
-
Select the user defined Tag - Reservoir and then THREE FORKS
-
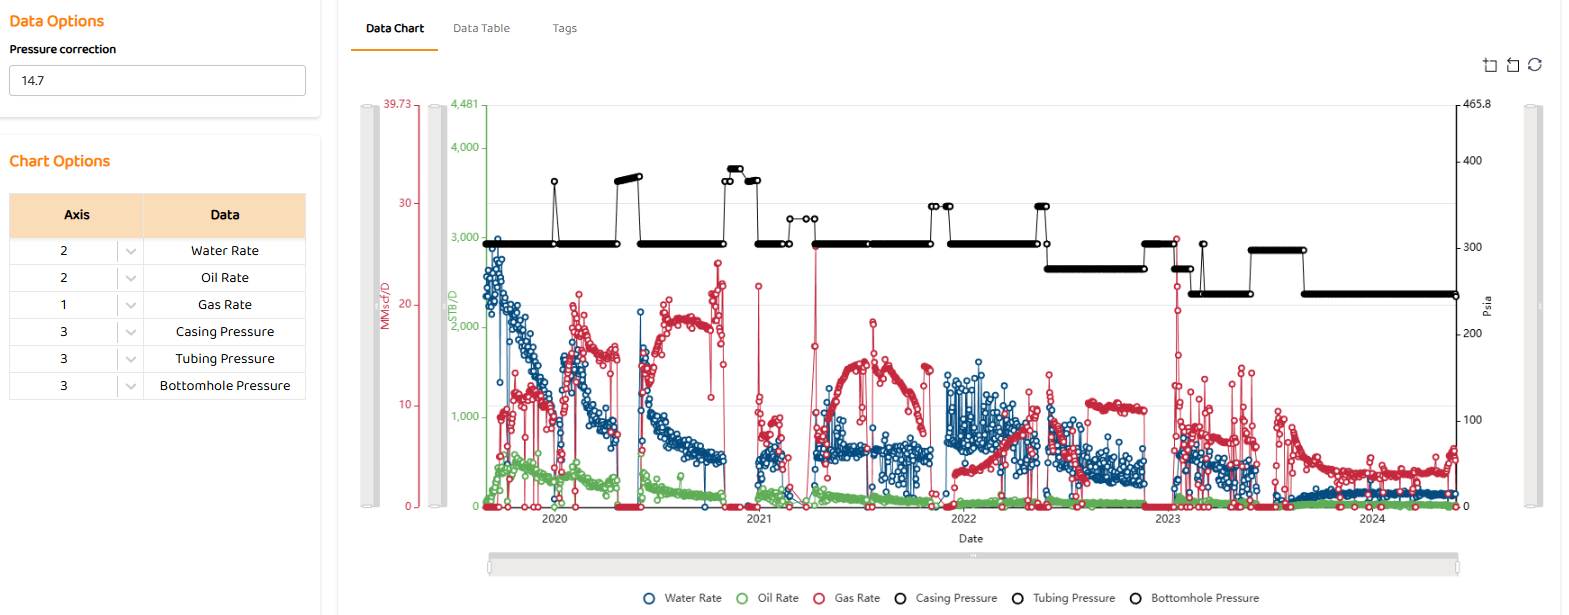
Click on the three dots to the right of “330610000“, the Preview Well option will pop up. Now click on it to Preview the well and you will see all the imported data